My Mods
Home Up
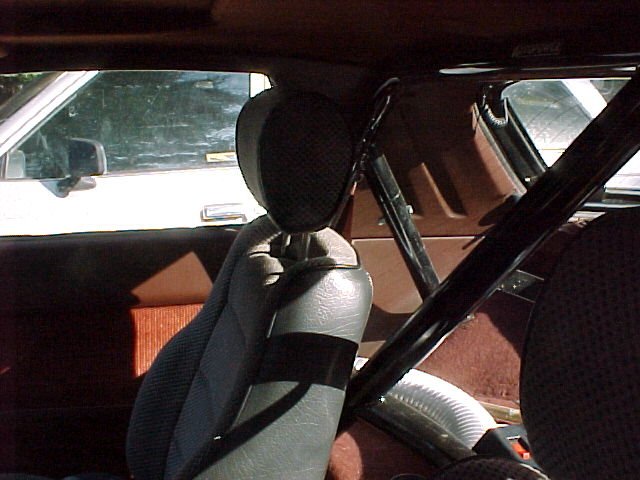
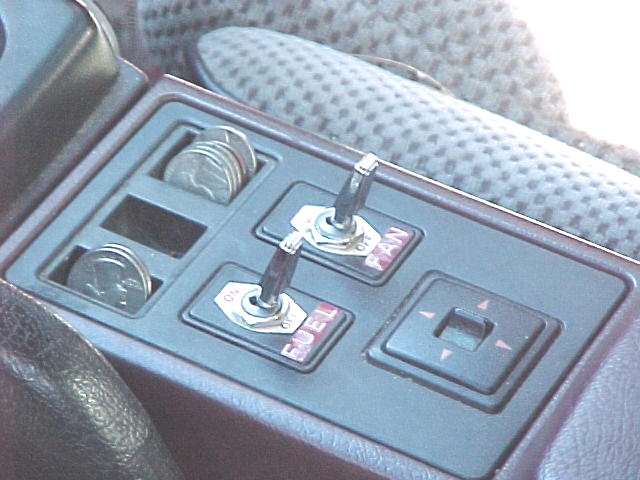
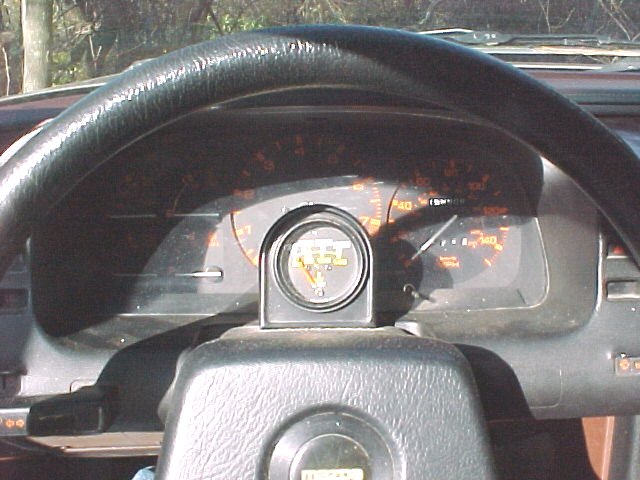
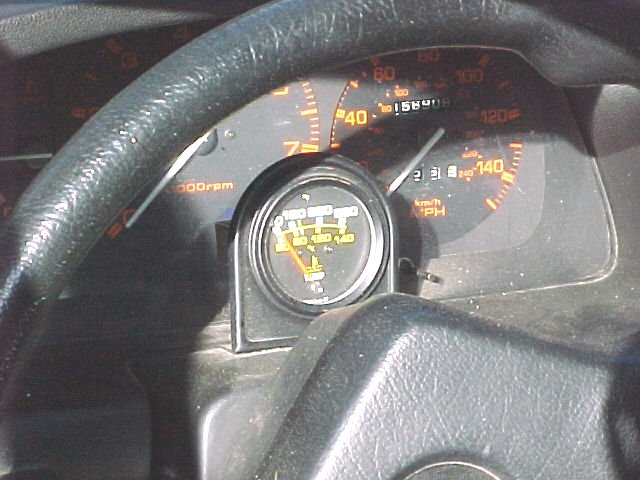
My intent in modifying my car has been to make it go faster handle better and stop quicker.  Unfortunately to do this there often is sacrifices that must be made.  This includes; ride comfort (soft cozy suspension), interior noise (I base the interior noise on the level when I am wearing a helmet)

I have made many mods to my car or should I call them upgrades as most of the parts I use are either Mazda factory parts from other model RX-7's or I make / modify a stock Mazda part to work better and lastly I often try to make my own part when it is feasible.

The following photos are some of the things that I have done. With Comments to the right.

If you have a comment / suggestions or criticism of what I have done.
PLEASE TELL ME!!!!
I hate making mistakes that others have already made.
EMAIL ME AT
DSMITH@MARX7.ORG

frounttire.jpg (66387 bytes) 1987 T-2 Drive train:
As you can see I have T-2 Rims.  This is the only visible giveaway that there is an entire drive train from a 1987 T-2 under this 86 LX
header01.jpg (62052 bytes)header02.jpg (87293 bytes) Header:
This is the next mod to be done to the car. 


Thanks to another member of the MARX7 Club!!!
motorbrace01.jpg (60270 bytes)motorbrace02.jpg (73428 bytes)
wholemotor.jpg (79174 bytes)
Motor Tork Brace:
This is the first try at this.  I will probably change this as I am not sure how strong the alternator bracket is.  I am also concerned that if the brace was to flex up I would damage my hood.  This has helped throttle response allot but allot more noise gets transmitted to the driver.
I have since added a strut brace that has made the front end much more responsive.  The mounting of the tork brace has changed a little but the principal is the same.

An over all of the engine bay with the motor brace.

nexustires.jpg (62683 bytes) Tires:
These are Nexus Tires.  They are probably the best rain tire I have ever used.   I have used them on the track in the dry and they were not bad at all. BFG's are better in the dry but if you can only afford a single set of tires, and you want to go to the track, these are a GREAT compromise. (No they are not sitting on the ground they are up on blocks and get stored in a dry place when not on the car or being photographed.)

Thanks to another member of the MARX7 Club!!!
oilfilter.jpg (64343 bytes) Oil Filter:
Ok I know it is a FRAM but I have never had a problem with them.  The reason I mention this is that it is Part # 2849.  This filter comes from mid 1970'S Ford Pinto's with the 6 cylinder and was used in some Mazda trucks.  It adds approximately 1/2 a quart of oil to your cars oil capacity.  That's 10 percent more oil in your car.  Not bad for a filter change.
rad.jpg (65692 bytes) Radiator & Cooling:
Nope; I did not remove the fan and the shroud for the photo.  This is how my car runs.   I have a "pusher fan" in front of the radiator.  A side benefit to this set up is that the fan sits directly behind the oil cooler providing better air flow through that also.  If you have AC (and want to keep it) you can not make this mod as as the condenser  will be in the way.  Ohya the other reason for doing this is the throttle response is much better
rollbar.jpg (58109 bytes) Roll Bar:
Lets see.  Adds weight.  Makes accessing the rear of the car a bit of a hassle.   Your seats can't go back all the way.

This was the first mod I ever made to my car.
It goes with out saying.
JUST DO IT !

switches.jpg (59115 bytes) Switches: (Fan & Fuel)
Fan controls the fan in fount of my rad. Fuel controls the fuel pump.  This was incase of a fire in the engine bay I can stop the fuel flow to the front of the car. As a side benefit if you flood your car, just turn the fuel off spin the motor over until it catches and turn fuel back on.  Two things I want to change are the type of switches and the location.  I would like to get the "aircraft" type switch that has a locking cover that has to be raised to operate the switch.  The second is the location.  I would like to move them to the left side of the steering wheel so I can operate them while I am turning the ignition.

UPDATE:   I have recently had a switch failure (the fan Switch).   I am on the hunt for "heavy duty" switches that can take repeated on off cycling.

UPDATE:  I found Aircraft Style Safety Switch's and have installed them and they seem to work much better.


tempgadge01.jpg (64986 bytes)
tempgadge02.jpg (64755 bytes)
tempsendunit01.jpg (66804 bytes)
tempsendunit02.jpg (57592 bytes)
Temp Gauge:
This is probably one of the best mods I have made. It cost less than $50.00 and has saved me at least two motors.

The top two photos show the gauge mounting location.  I wanted it to be in my face all the time. 

The lower two are of the sending unit.  I drilled and tapped the stock filler neck to except the fittings provided with the gauge.  This was allot harder than it looked as the thread for the brass fitting was tapered.  If you have never done this before get a spare filler neck that you can screw up.  Also remove the filler neck and do the drilling and tapping on a bench. Otherwise allot of metal will end up in your cooling system.